
How to Install AIX OS on IBM Power System
/ 4 min read
Updated:
Table of Contents
Intro
AIX is a Unix operating system developed by IBM for its Power Systems hardware. It is a proprietary operating system that is used in enterprise environments for high-availability and mission-critical applications.
In my company, we use AIX OS as the base operating system for our production servers running IBM Db2. Database workloads are separated from application and hypervisor layers, which improves both security and performance.
The latest hardware we use is IBM Power S924 a.k.a Power9 server.
It is a very stable operating system and we have never had any issues with it.
Steps
-
Insert AIX CD/DVD
-
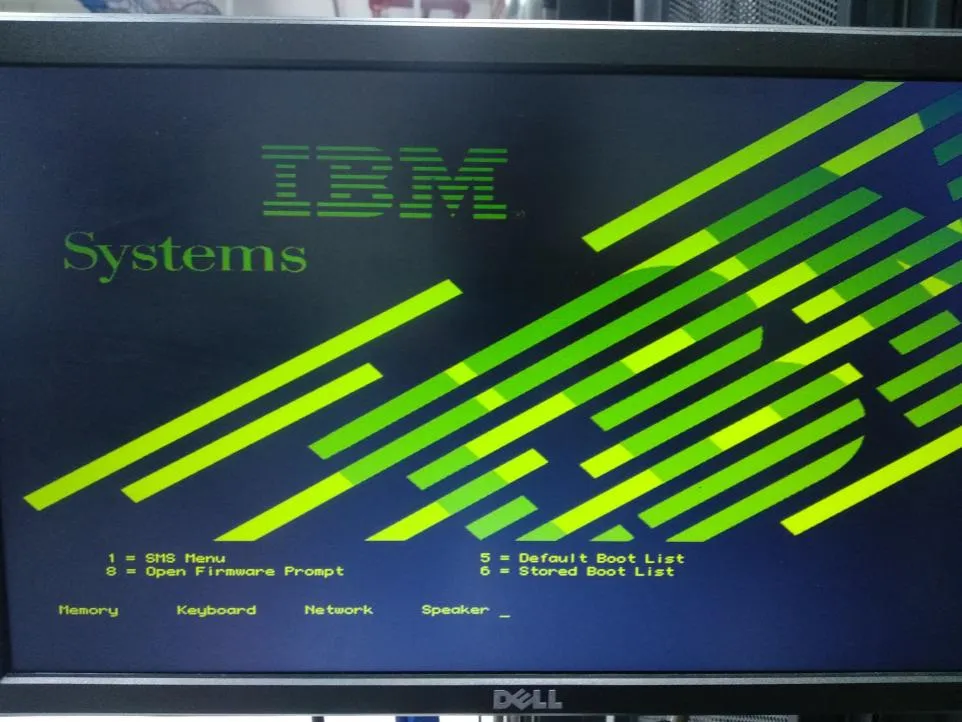
Press 1 to select the next step to “SMS Menu”
-
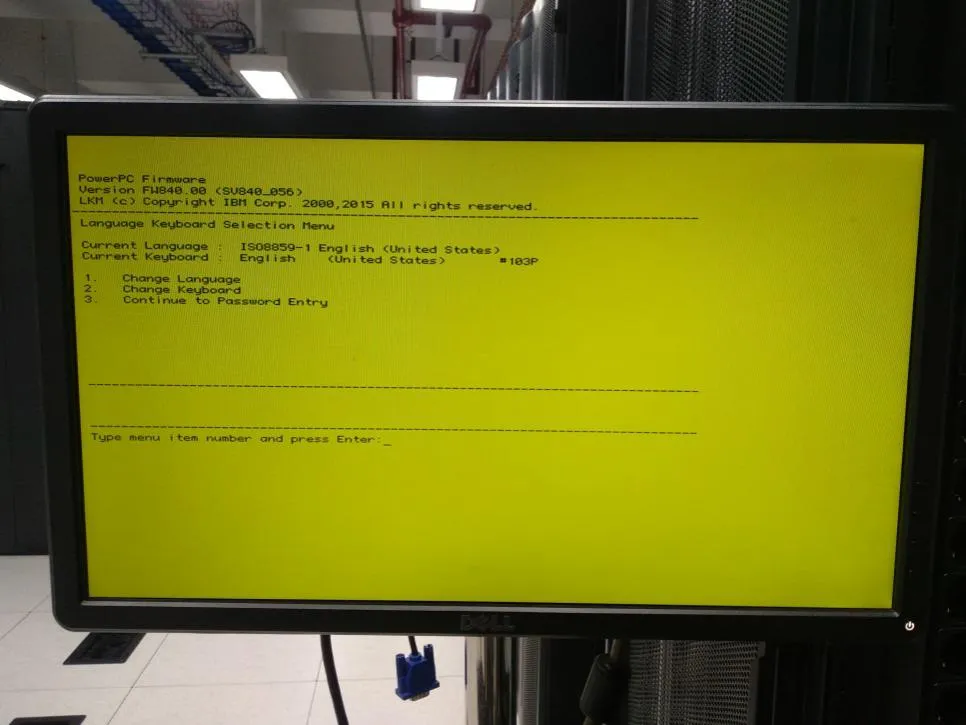
Press 3 to select the next step to “Continue to Password Entry”
-
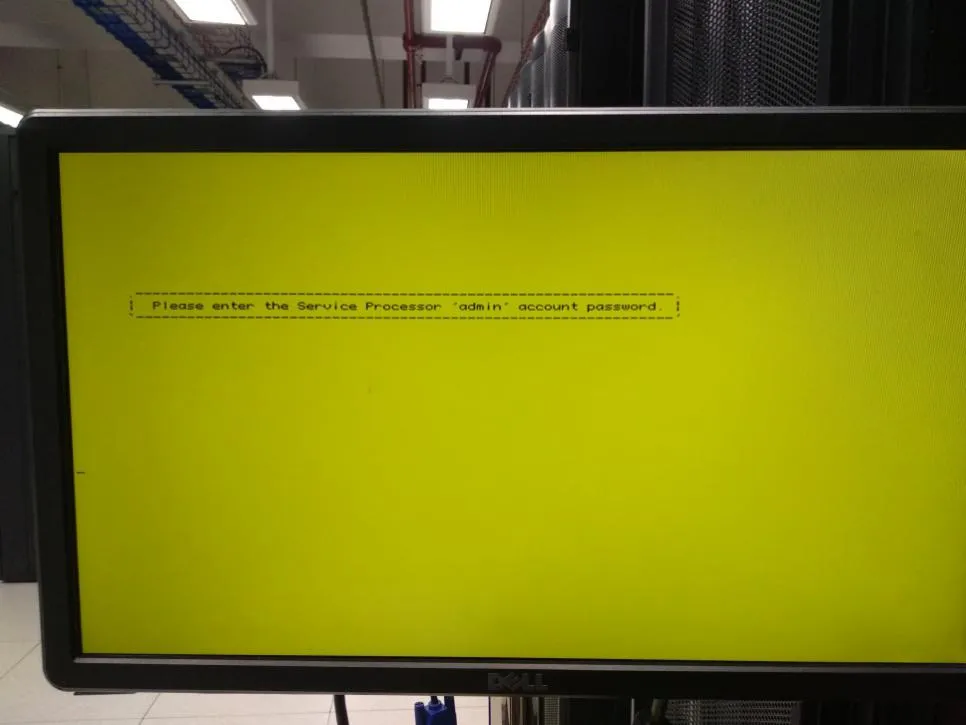
Type the default password “admin”
-
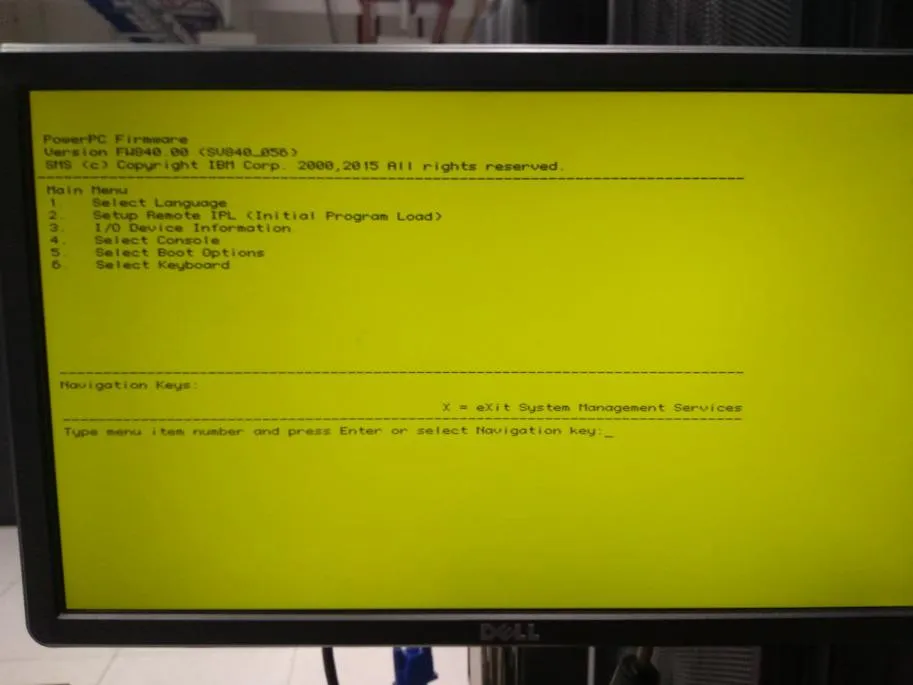
Press 5 to continue to “Select Boot Options”
-
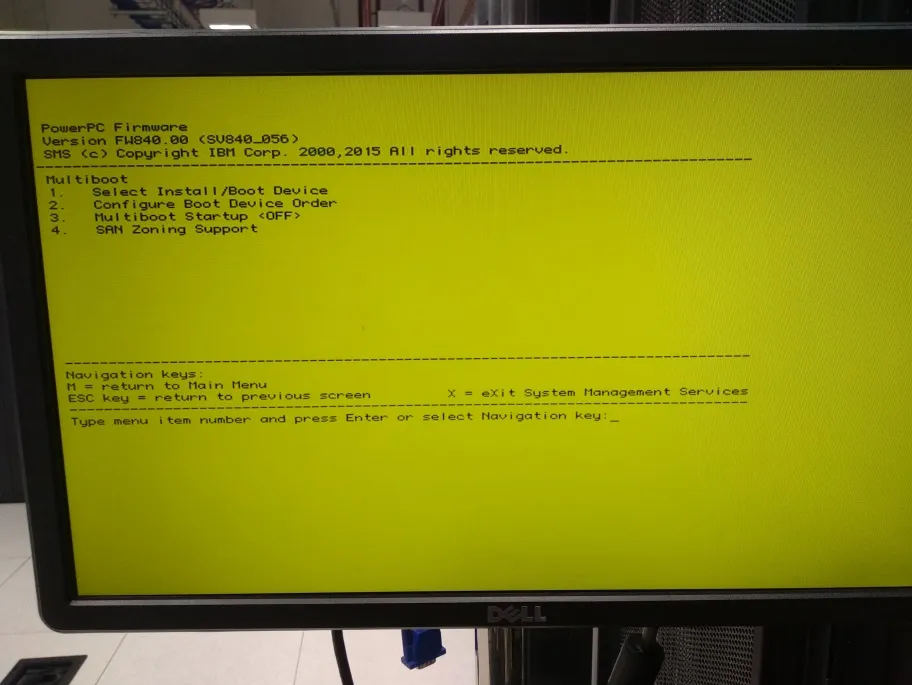
Press 1 to continue to “Select Install/Boot Device”
-
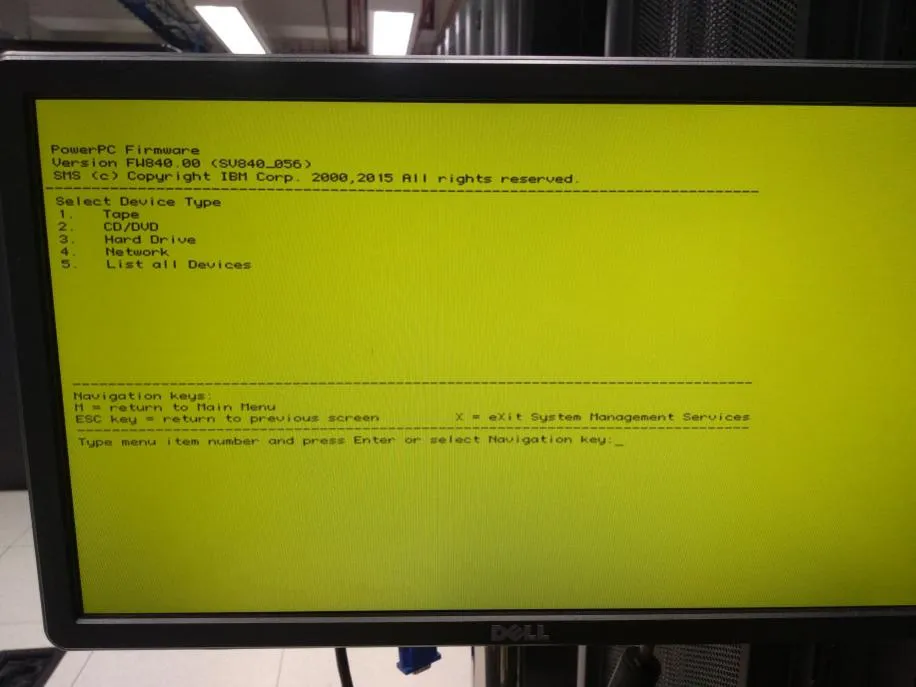
Since this guide uses a CD/DVD device, press 2 to select “CD/DVD”
-
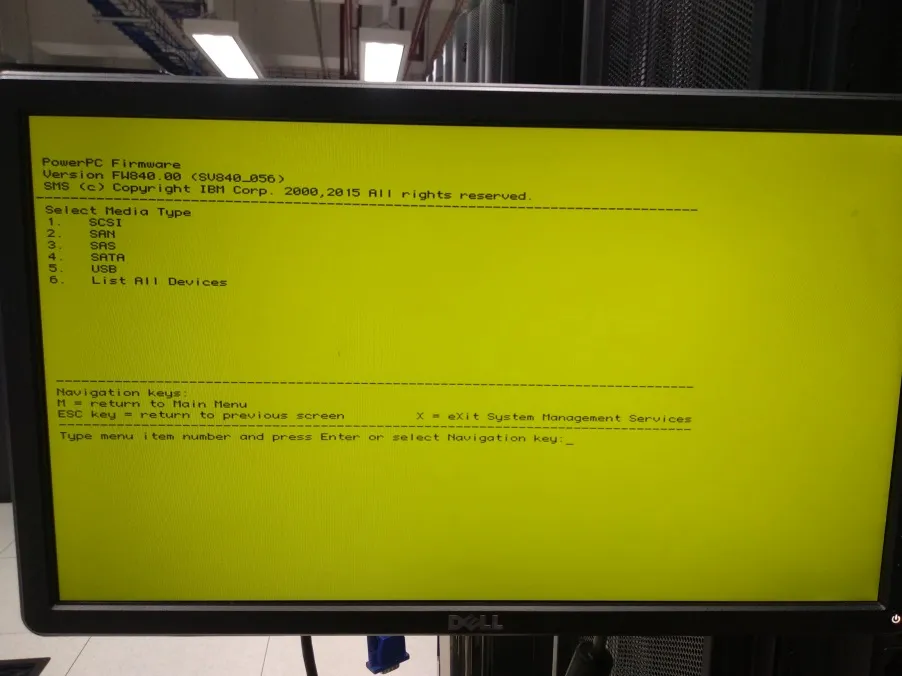
Press 6 to select “List All Device”
-
Select “SATA” because the device used is CD/DVD
-
Select “Normal Boot” and wait for the reboot process to complete
-
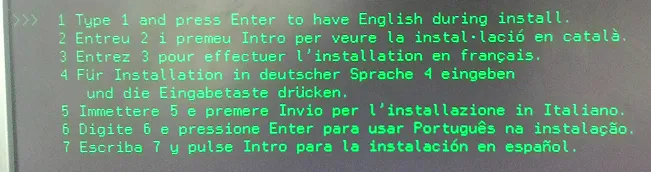
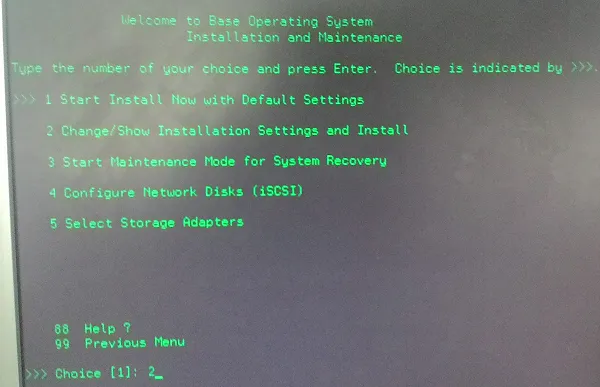
Press 1 and press Enter
-
Press 2 to continue to “Change/Show Installation Settings and Install”, and press Enter
-
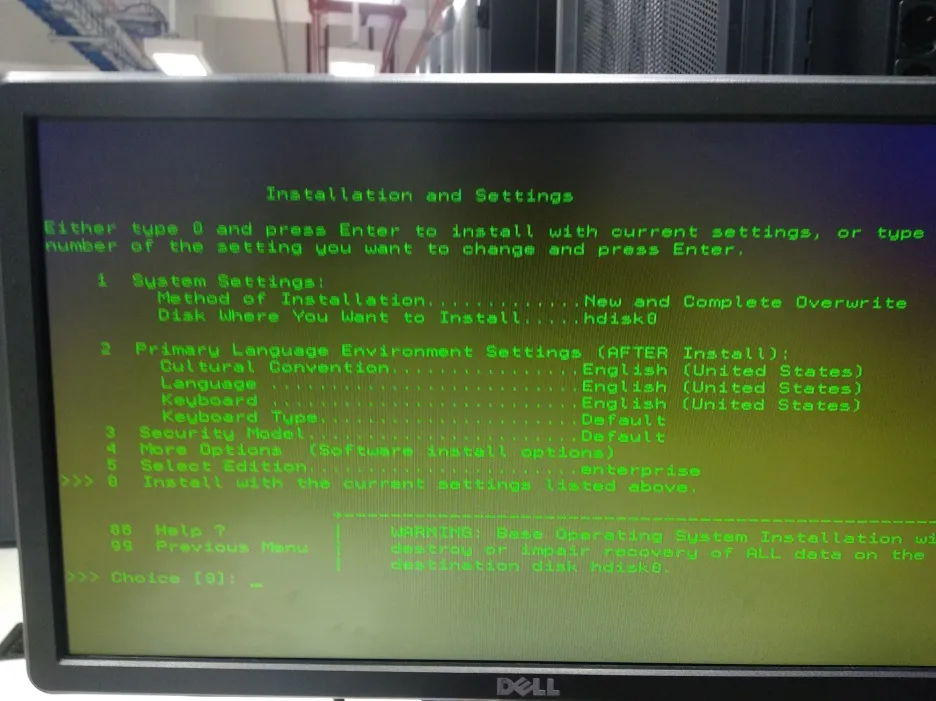
Change “Select Edition” to “Enterprise”
Press 5 then press Enter until it changes to “Enterprise” If RAID, press 1 to set the use of hard disk for OS and installation type If not RAID, press 0 to install
And make sure to press 4 to ensure the FTP/IP installation is “yes”
-
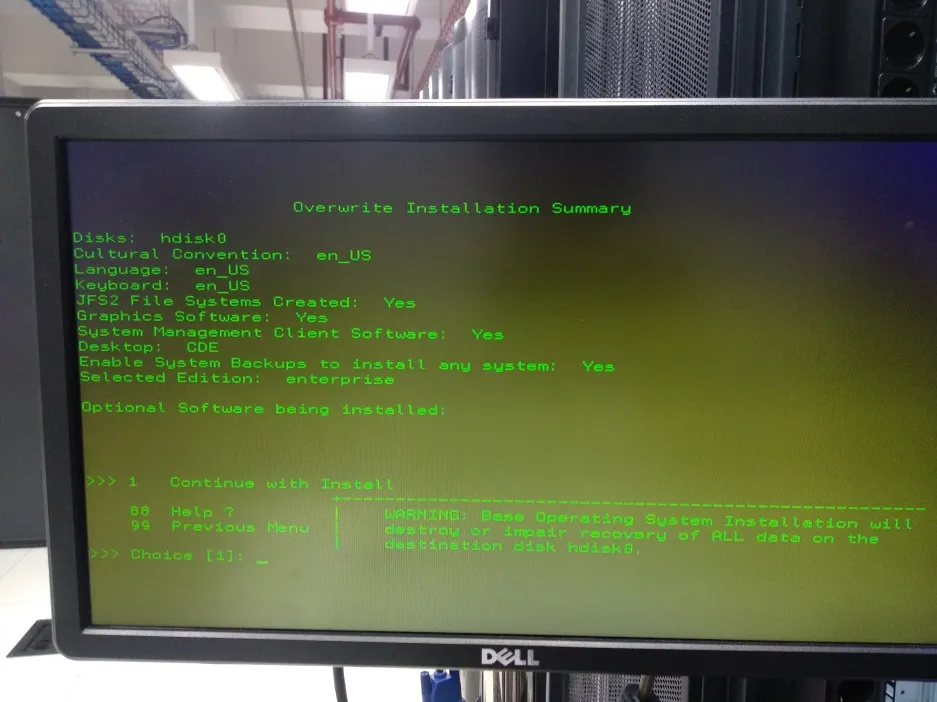
Press 1 to continue to “Continue with Installed”
-
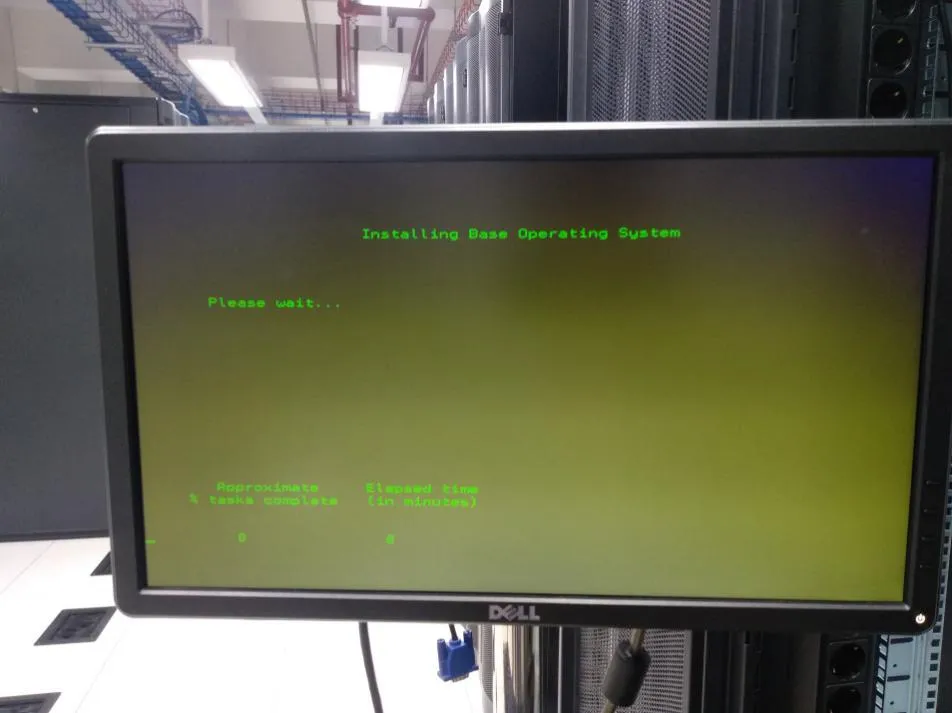
After the installation is complete, it will enter the AIX OS. Next, enter the initial server setting process

-
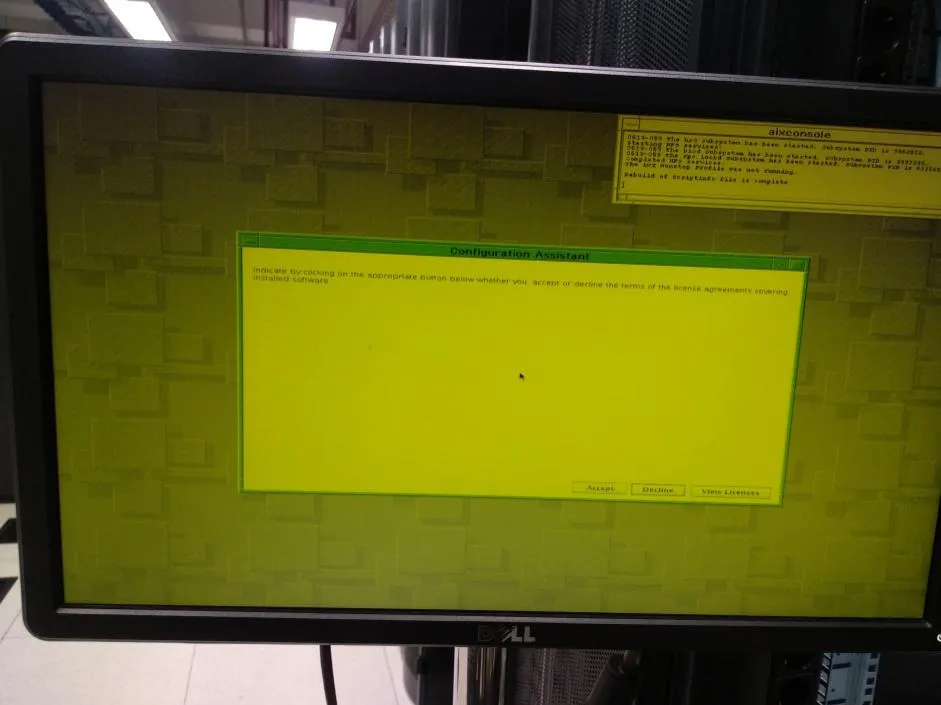
Click “Accept” on the following screen
-
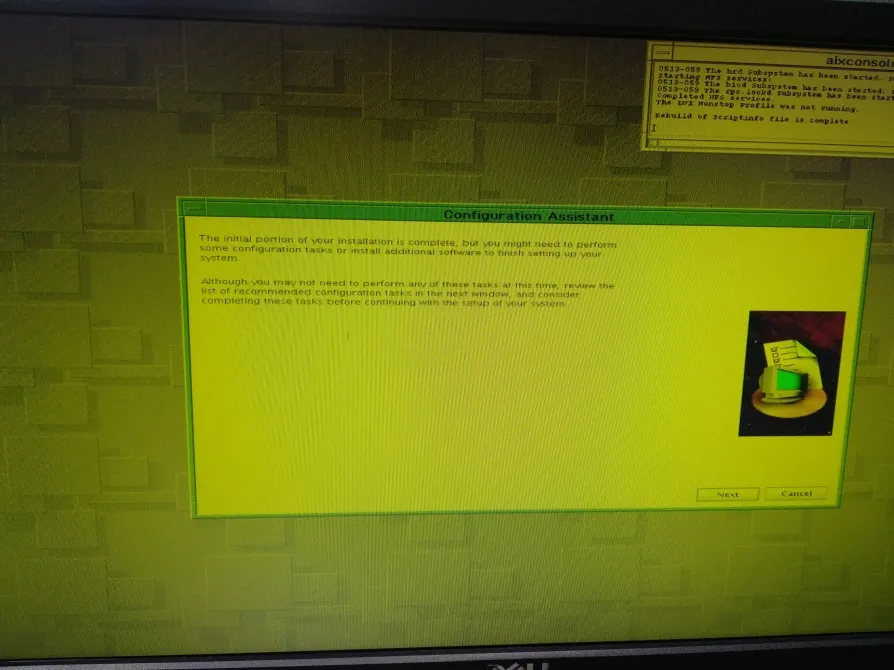
Click “Next” on the following screen
-
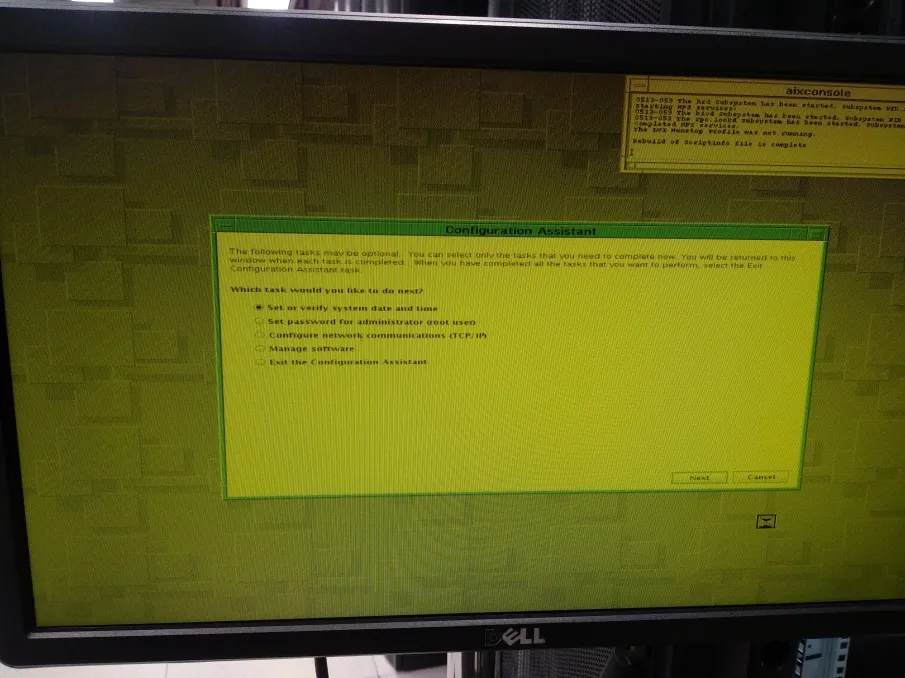
Click “Next” on the following screen
-
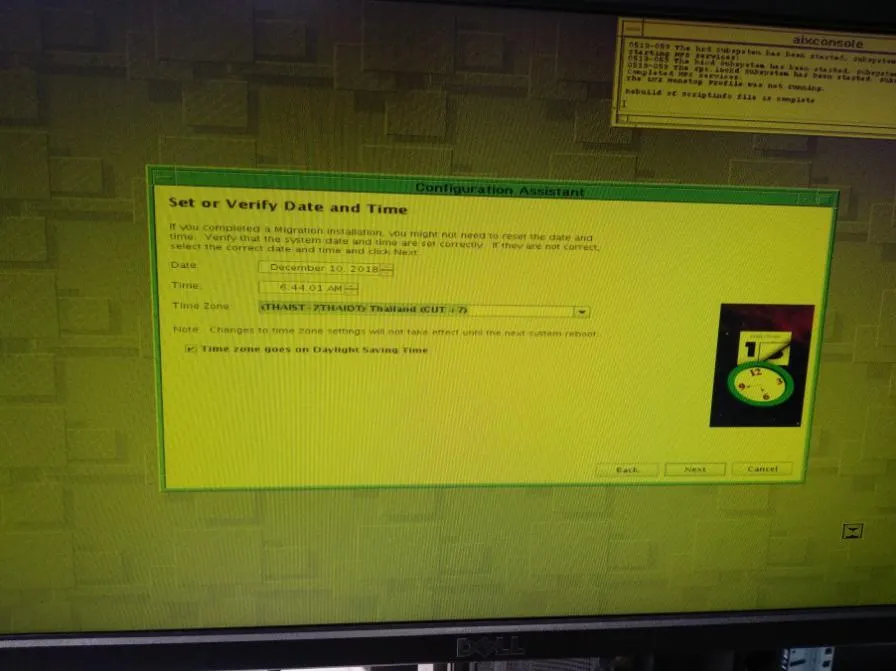
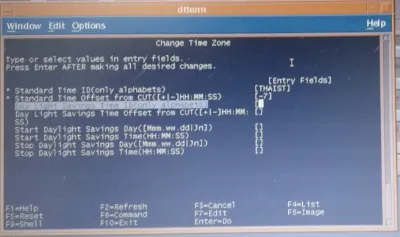
Set the date, time, and time zone to +7 (THAIST). Then click “Next”
-
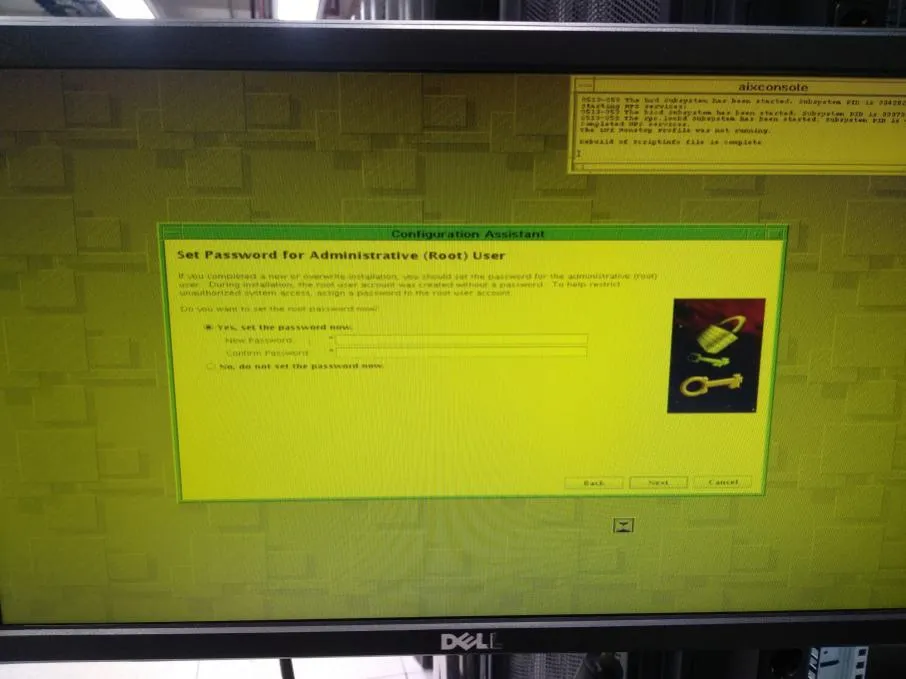
Set the desired password, and click “Next”
-
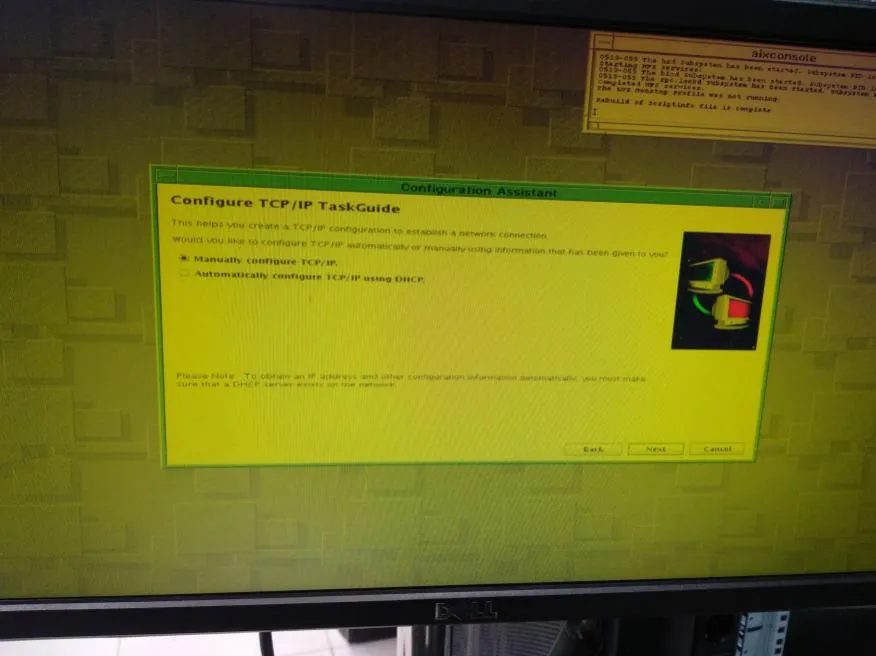
Select “Manually configure TCP/IP”, and click “Next”
-
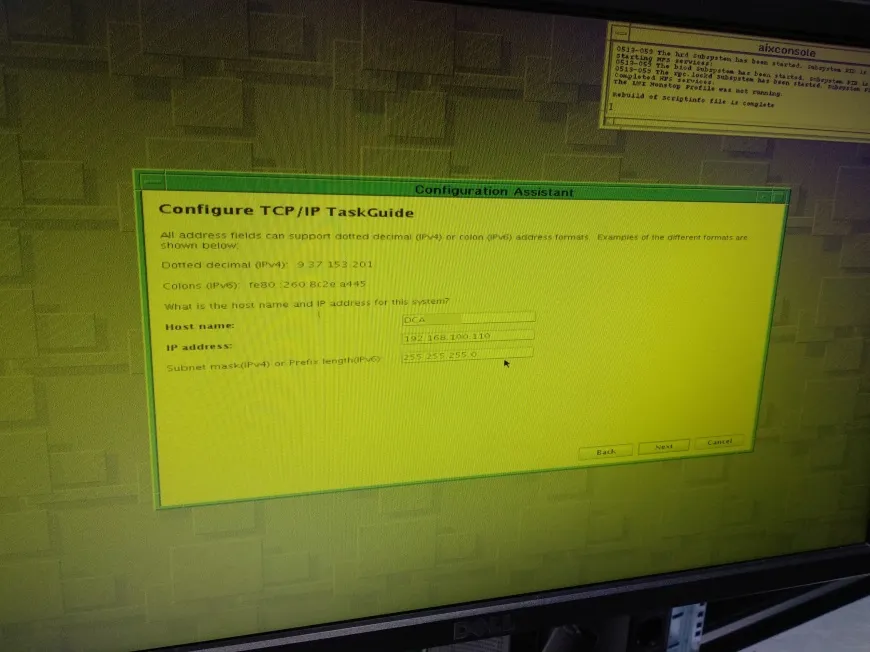
Fill in the “Host name” and “IP Address ”, and click “Next”
-
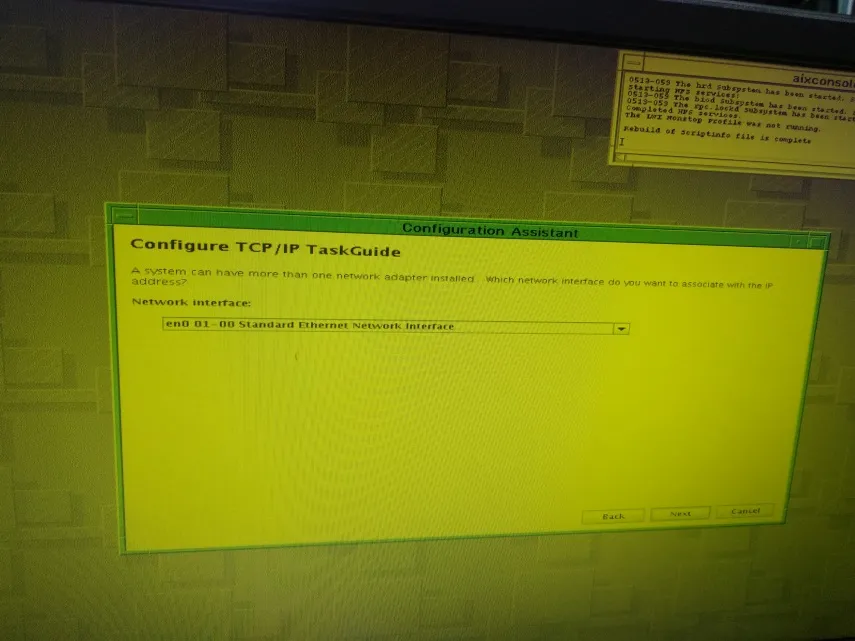
Select “Network Interface (en0 01-00 Standart Ethernet Network Interface)”, and click “Next”
-
Skip the following section, and click “Next”
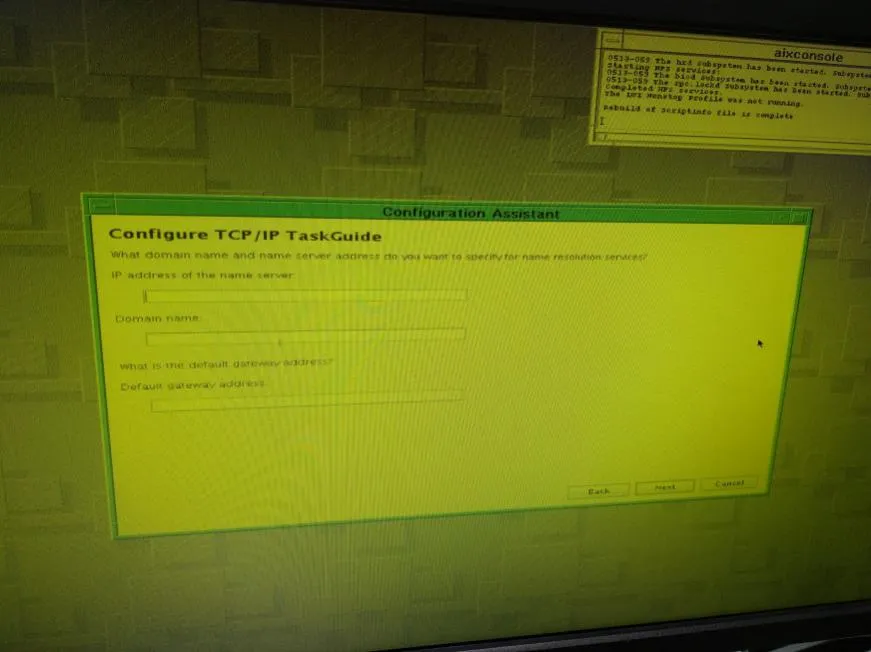
-
Click “Next” on the following screen
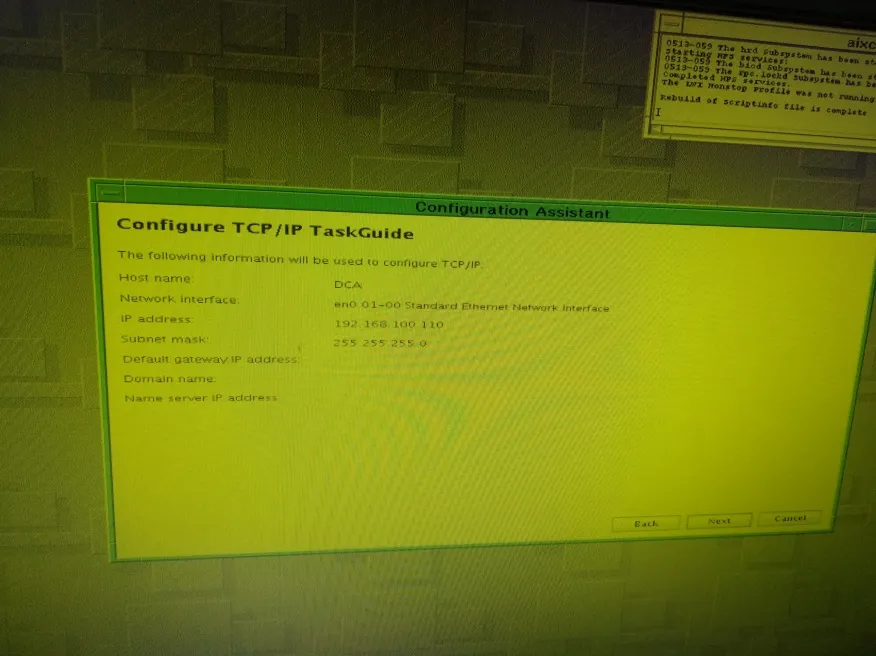
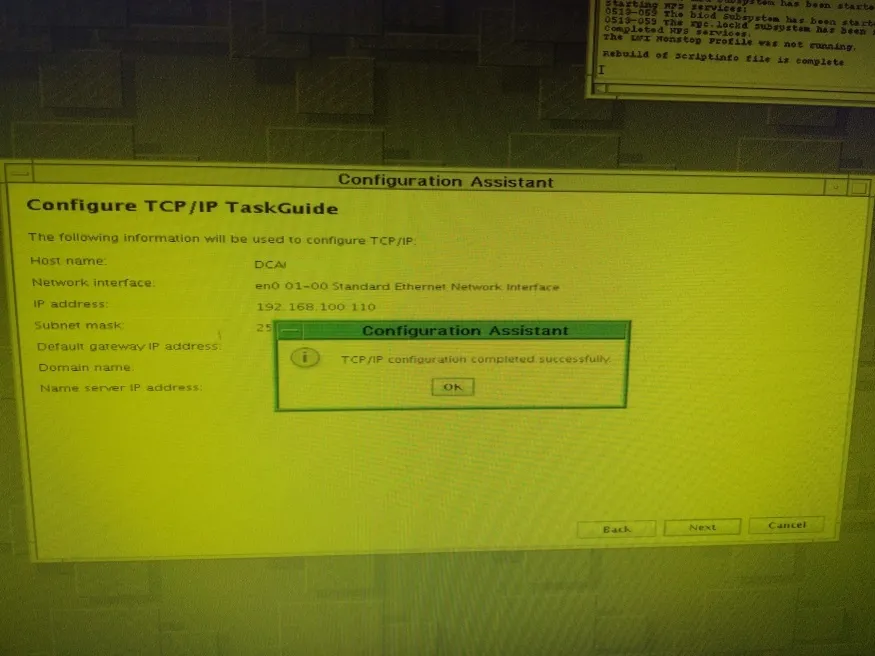
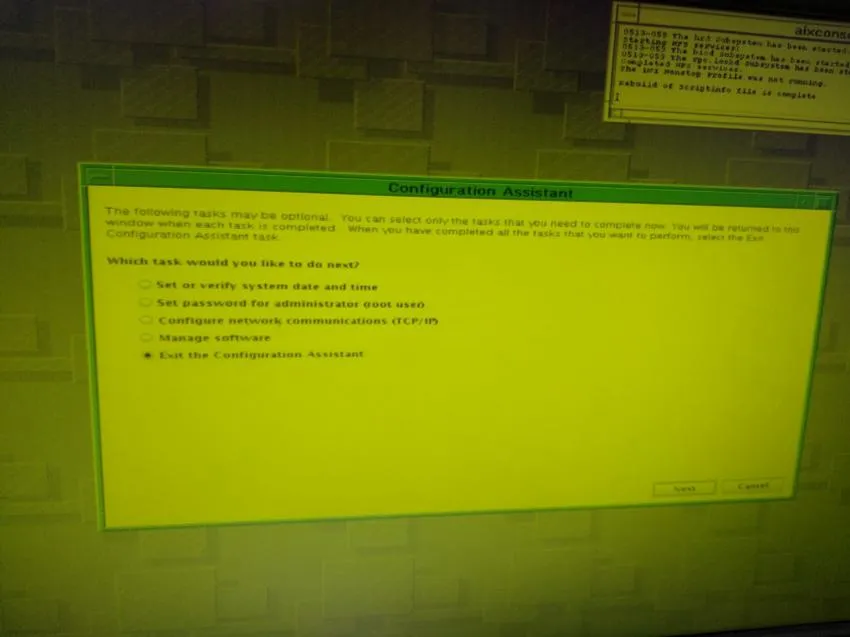
-
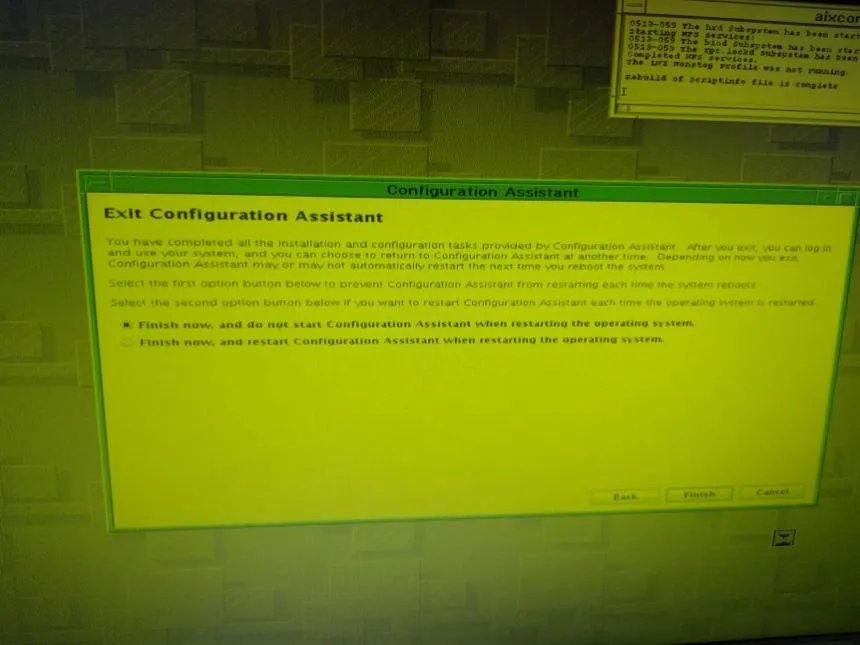
Select “Finish now, and do not start Configuration Assistant when restarting the operating system”, and click “Finish”
-
After the process is complete, remove the AIX CD/DVD and turn off the server first
-
Turn on the server again, open the terminal again
Or it can also be done remotely using the server’s IP Address via the xmanager application on a laptop/PC. To perform disk settings, open putty on a laptop/PC using the server’s IP Address and user root
-
Run the
topascommand
Check the default size of paging space 512 M, change the Number of Additional logical partitions to 100 using thesmitty chpscommand -
First check the existing disks using the
df -gcommand -
Change the GB blocks of mounted
/,/usr,/varand/tmpto 5,/hometo 100 and/optto 20, using thechfs -a size=+(value to add)G (mounted name)commandExample :
chfs -a size=+25G /data
chfs -a size=-25G /logpathOr
chfs -a size=+4G /varGB Blocks of
/varis 1.00, to make it 5.00 requires an additional 4.00 GB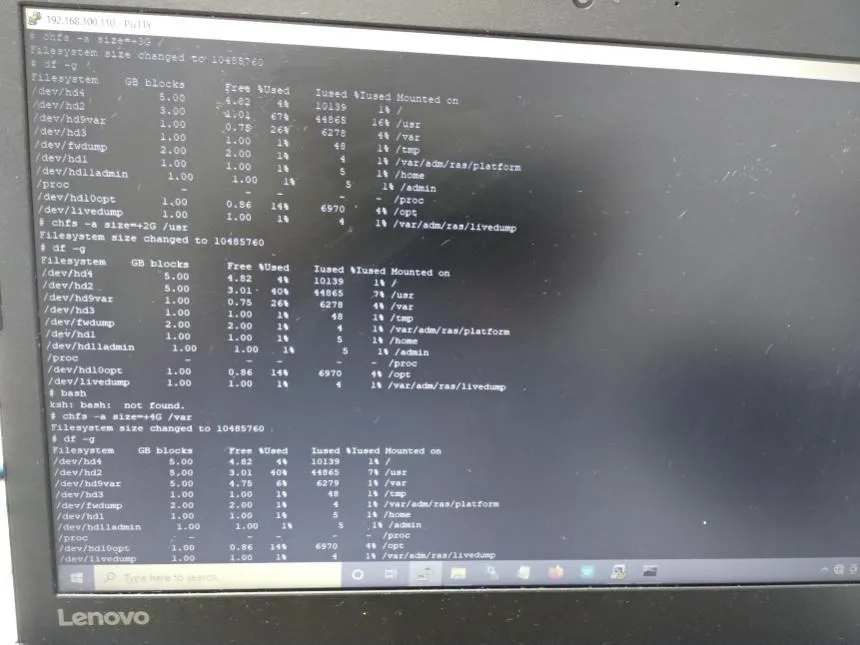
-
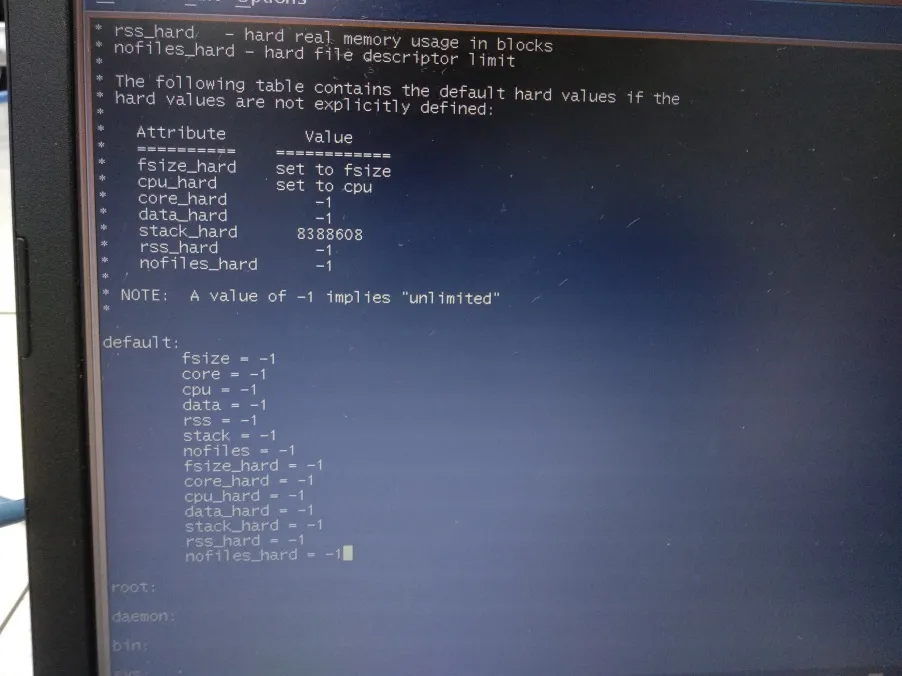
Perform Security Limits Settings, using the
vi /etc/security/limitscommand -
Update the default value of limits to the following value:
-
To delete, press esc then press x
To type, press esc then press i
To delete a line, press esc then press dd
To save, press esc then press :wq !
To exit without saving, press esc then press :q ! -
Use the
smittycommand, then select “System Environment” and press Enter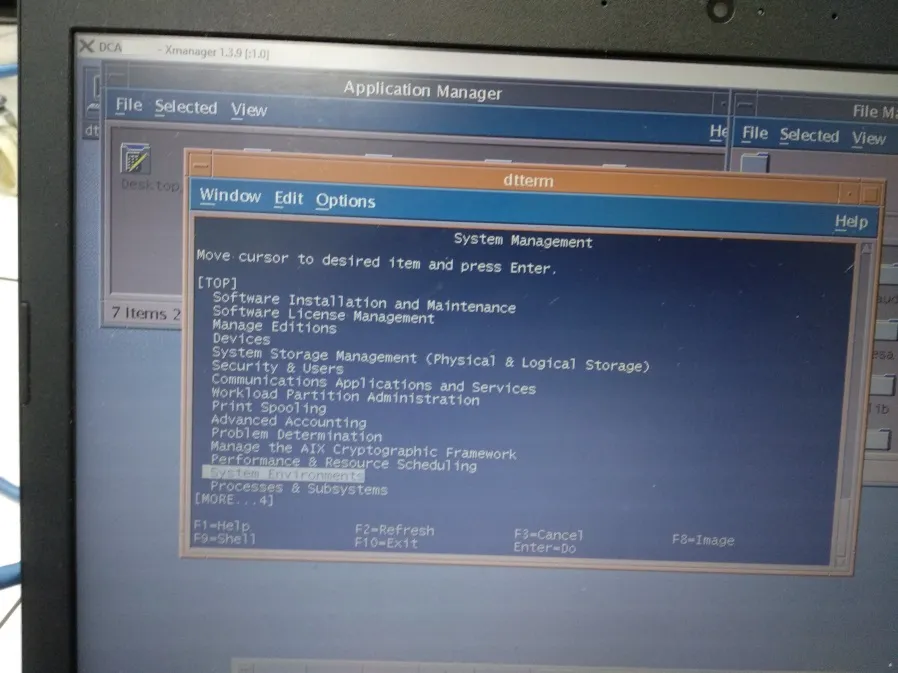
-
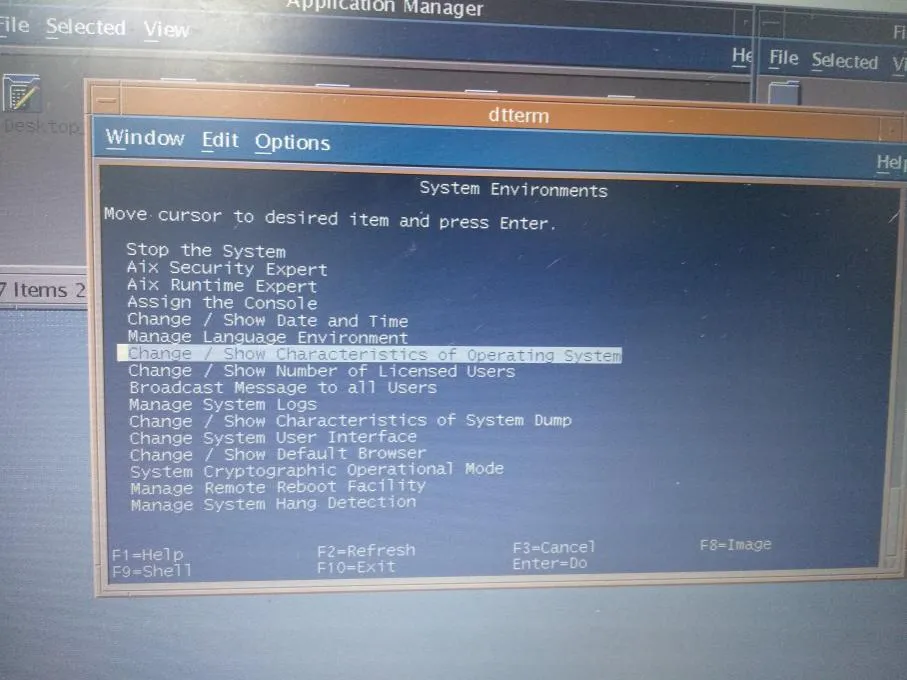
Select “Change / Show Characteristics of Operating System” and press Enter
-
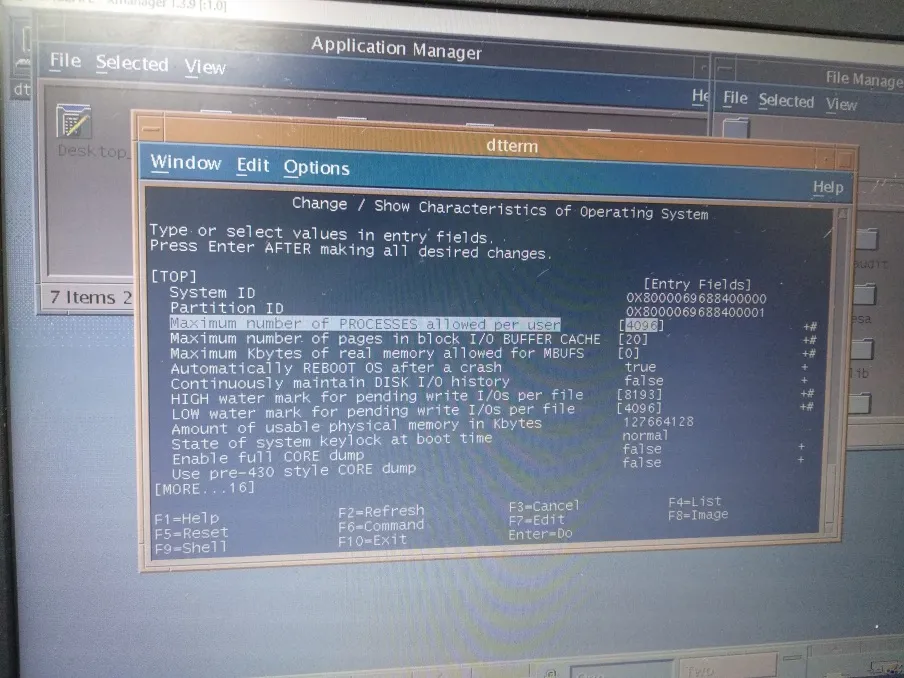
Change “Maximum number of PROCESSES allowed per user” to “4096” and press Enter
-
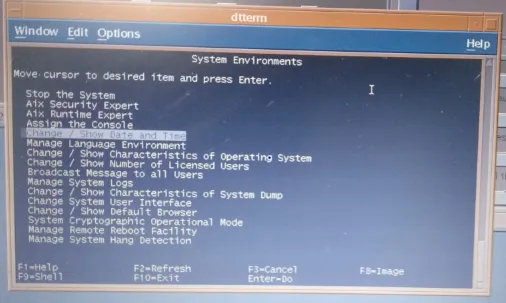
Select “Change / Show Date and Time” and press Enter
-
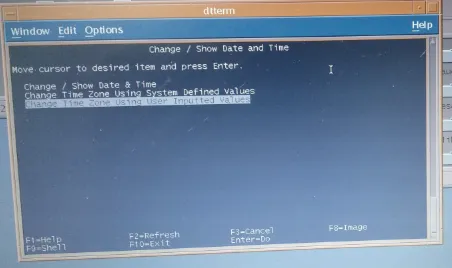
Select “Change Time Zone Using User Inputted Values” and press Enter
-
Leave the “Day Light Saving Time ID” field empty and press Enter
-
Use the
smitty devicecommand, then select “I/O Completion Ports” and press Enter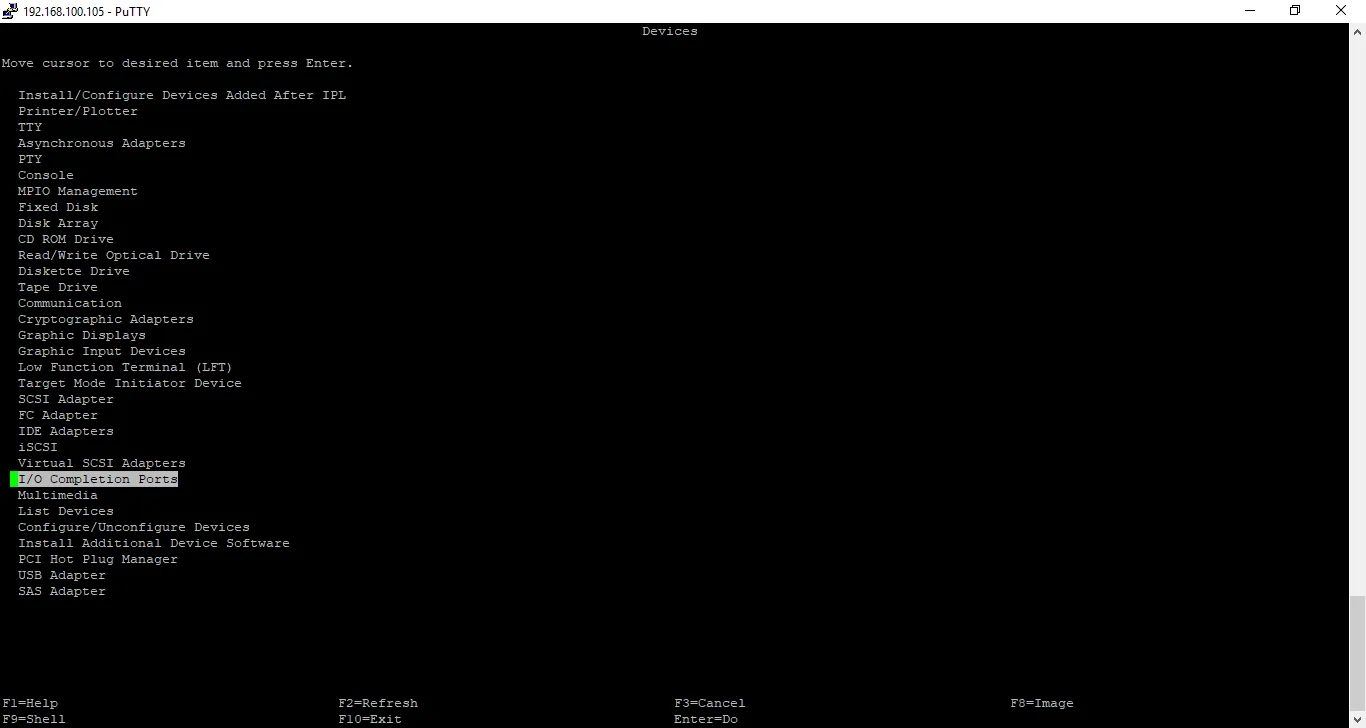
-
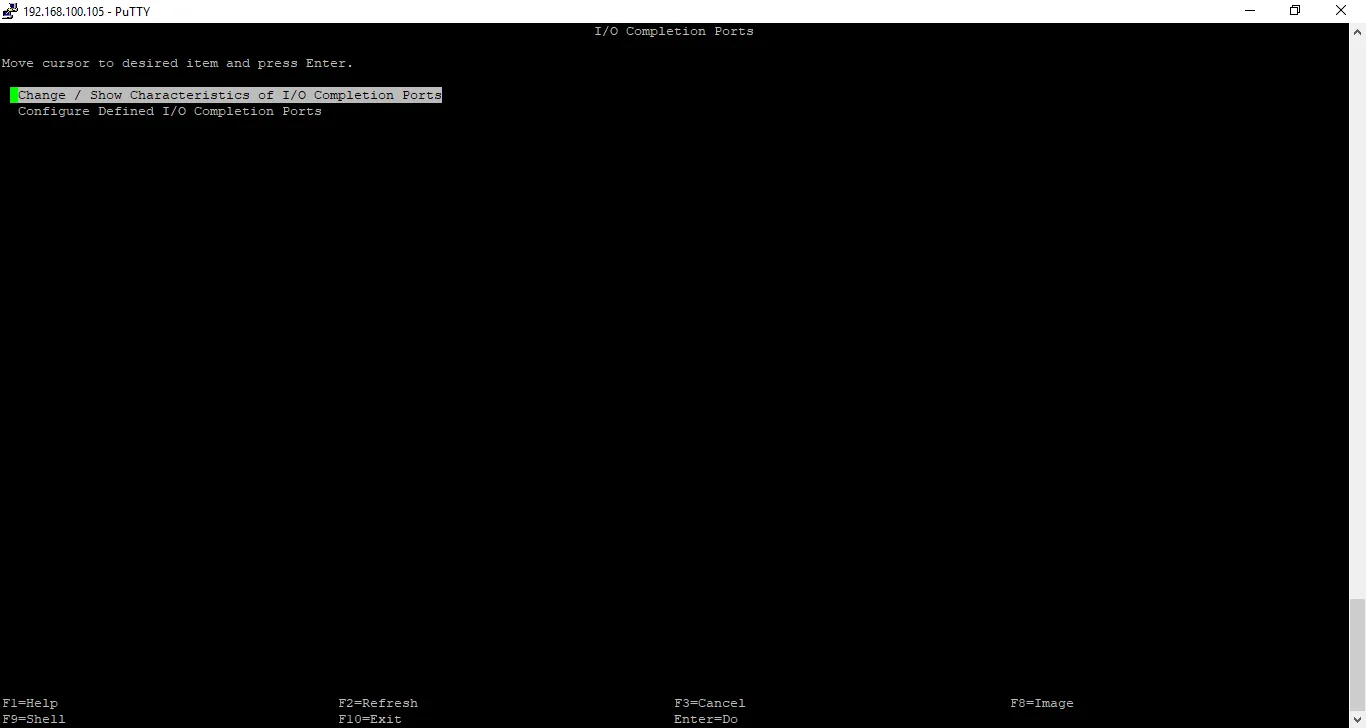
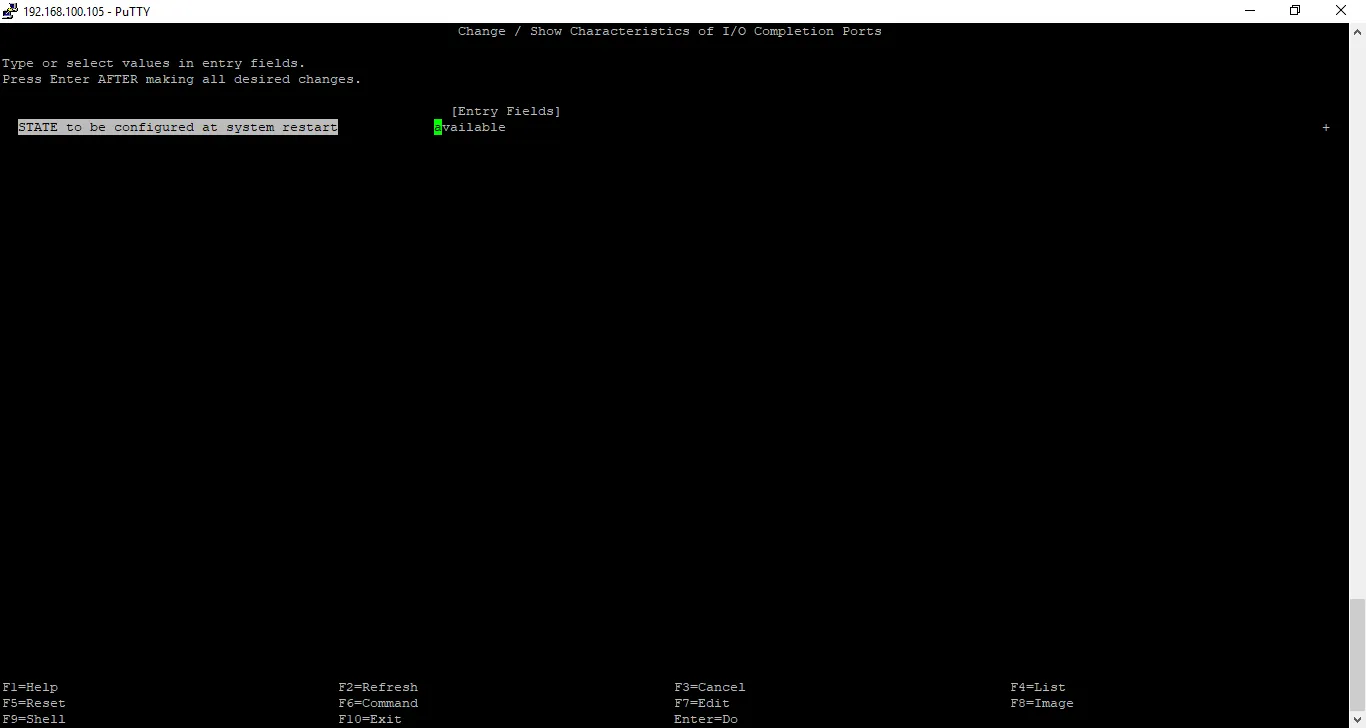
Select “Change / Show Characteristics of I/O Completion Ports” Change “STATE to be configured at system restart” to “Available” and press Enter
Ensure that “Configure Defined I/O Completion Ports” is also set to “Available”
-
Restart server using the
shutdown -Fr nowcommand -
Congratulations! The AIX OS installation process is complete.