
How to Install IBM Db2
/ 6 min read
Updated:
Table of Contents
Intro
IBM Db2 is a relational database management system (RDBMS) developed by IBM. It is a proprietary database software that is used in enterprise environments for high-availability and mission-critical applications such as Banking, Finance, and Government.
Base Installation
-
Open the terminal and check the disk using
df -g -
Move to
/optdirectory usingcd /opt -
Create master directory using
mkdir master -
Move to master directory using
cd master -
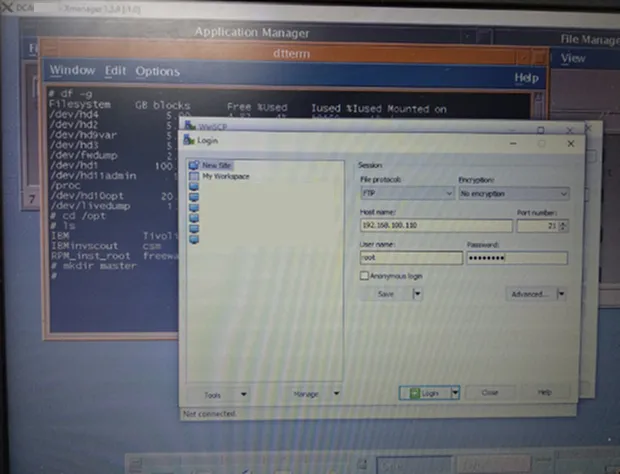
Open WinSCP and login using IP Address, user, and password from server
-
Copy file “v10.5fp5_aix64_server_t.tar” to
/opt/masterdirectory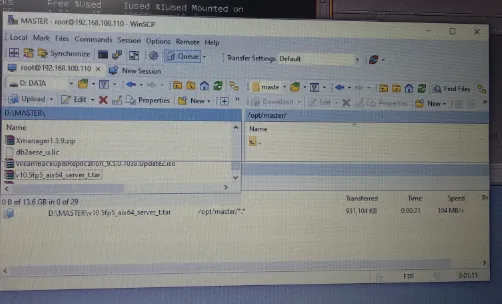
-
Back to terminal, check the file in master directory using
lscommand -
Extract file “v10.5fp5_aix64_server_t.tar” in master directory using
tar -xvf v10.5fp5_aix64_server_t.tarcommand -
Back to terminal, check the file in master directory using
lscommand -
Move to master directory using
cd server_tCheck the file in server_t directory using
ls -lcommand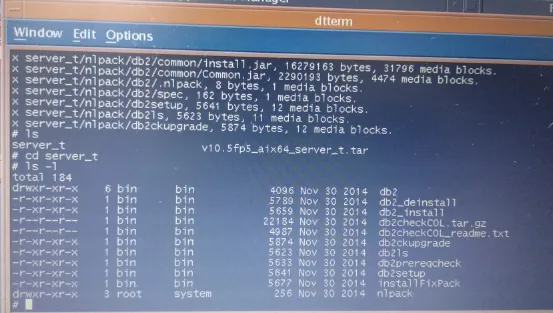
-
Run the command
./db2setup -
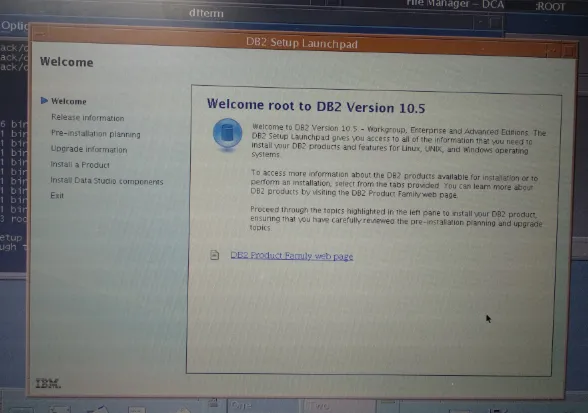
After running the command, the following display will appear:
-
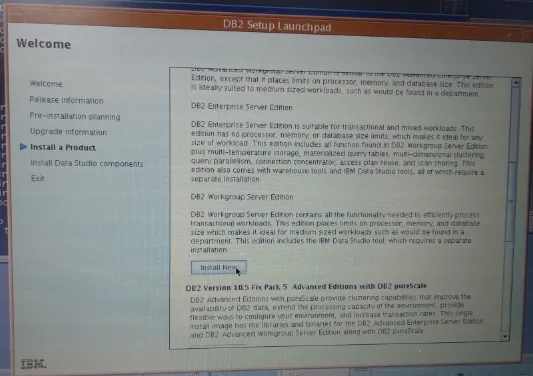
In install a Product, select “Install New”
-
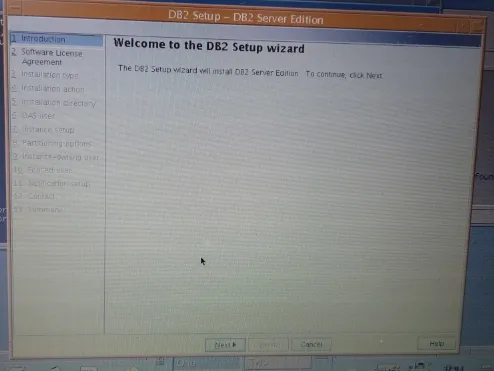
Click “Next” on the following display:
-
In Software License Agreement, select “I Accept the terms in the license aggrement”, and click “Next”
-
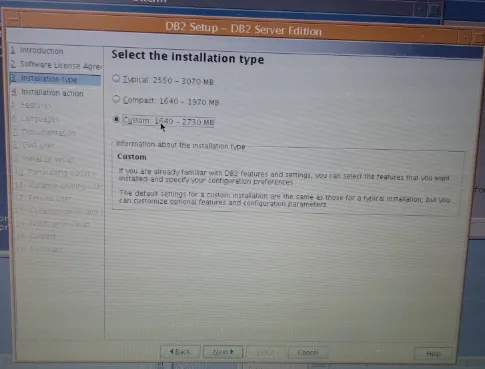
In Installation Type, select “Custom 1640-2730 MB”, and click “Next”
-
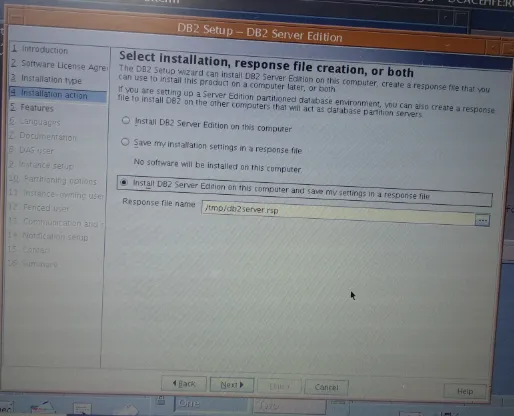
In Installation Action, select “Install DB2 Server Edition on this computer and save my settings in a response file”, and click “Next”
-
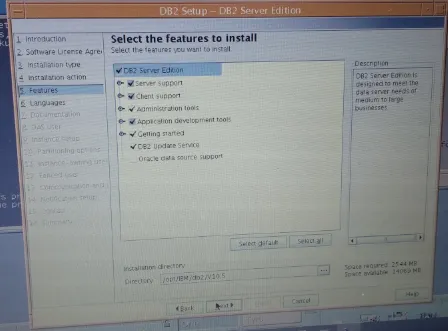
In Features, check all except “Oracle Data Source Support”, and click “Next”
-
In Language, make sure to select English and click “Next”
-
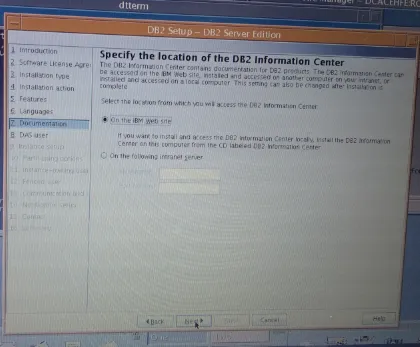
In Documentation, select “On the IBM Website”, and click “Next”
-
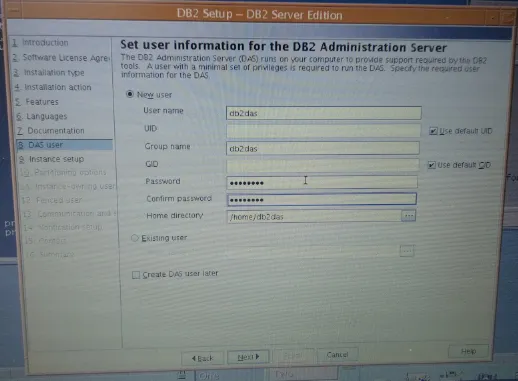
In DAS User, select “New User” and fill in the form as needed and click “Next”
-
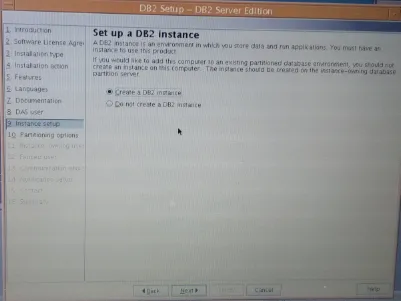
In Instance Setup, select “Create a DB2 Instance”, and click “Next”
-
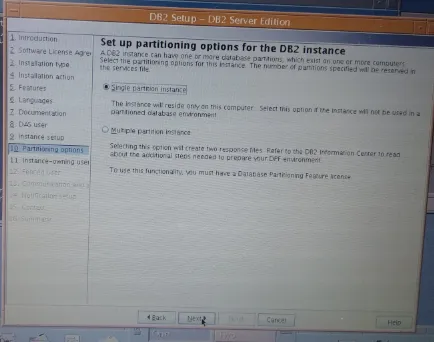
In Partitioning Options, select “Single Partition Instance”, and click “Next”
-
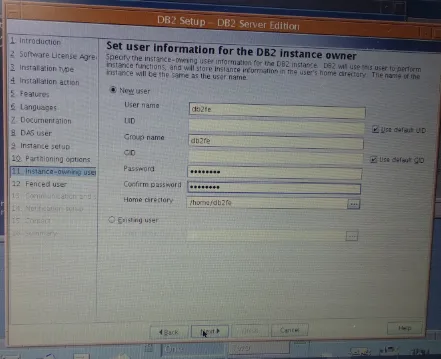
In Instance-Owning User, select “New User” and fill in the form as needed and click “Next”
-
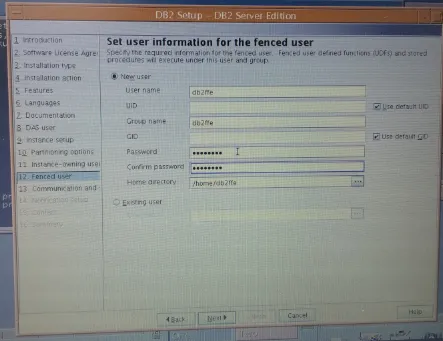
In Fenced User, select “New User” and fill in the form as needed and click “Next”
-
In Communication and Startup, select “Configure” and fill in the form as needed and click “Next”
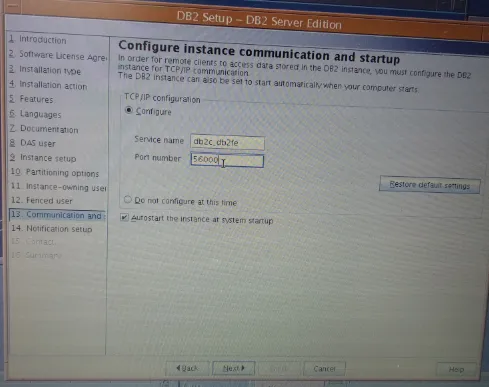
-
In Notification Setup, select “Do not set up your DB2 server to send notifications at this time”, and click “Next”
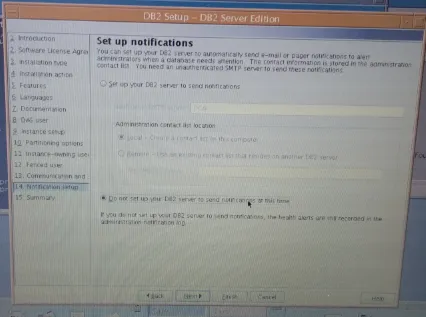
-
In Summary, click “Finish” and wait for the installation process to complete
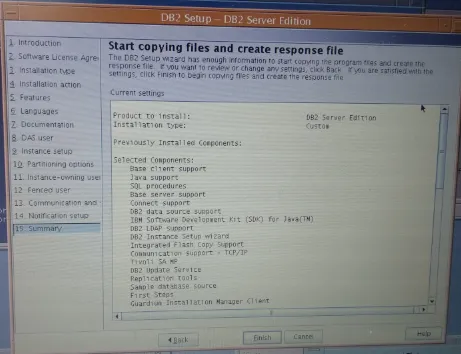
-
If the process is complete, make sure the status is “Success” and click “Finish”
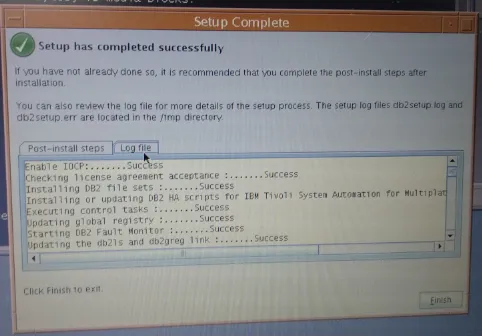
Adding Instances
-
Next, to add instances on the database server, you can start by using the command
cd /opt/IBM/db2/v10.5/instance/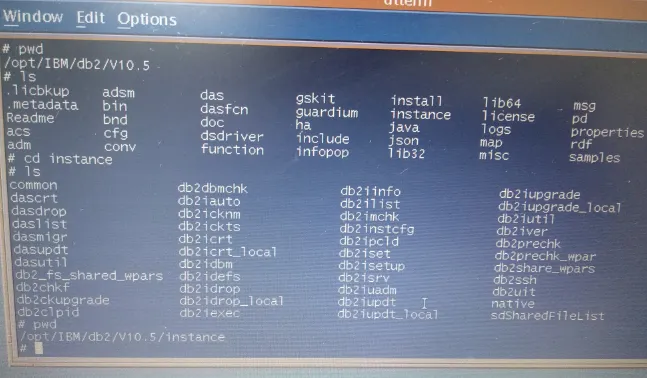
-
Run the command
./db2isetup -
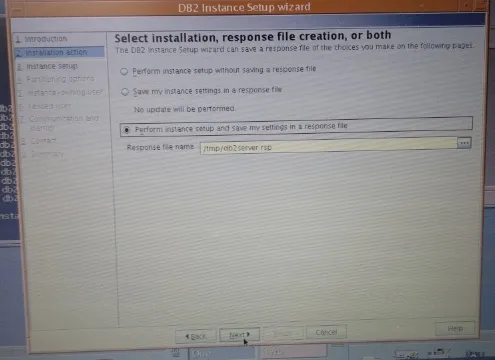
In Installation Action, select “Perform instance setup and save my settings in a response file”, and click “Next”
-
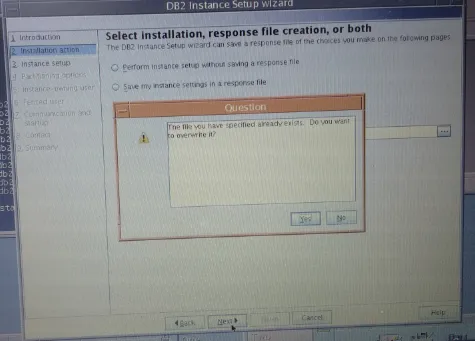
If the message “The file you have specified already exist. Do you want to overwrite it?” appears, click “Yes” and click “Next”
-
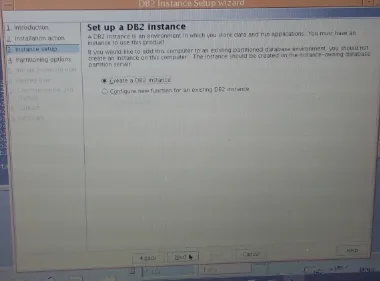
In Instance Setup, select “Create a DB2 instance”, and click “Next”
-
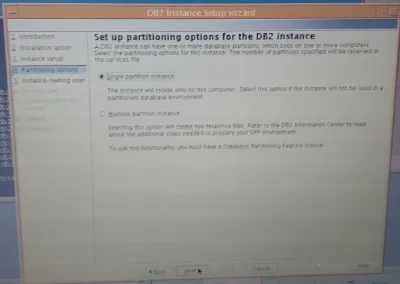
In Partitioning Options, select “Single Partition Instance”, and click “Next”
-
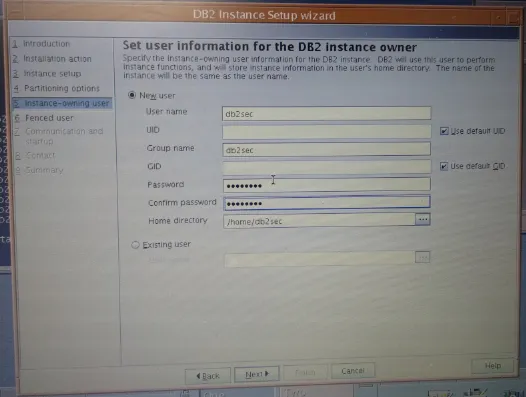
In Instance-Owning User, select “New User” and fill in the form as needed and click “Next”
-
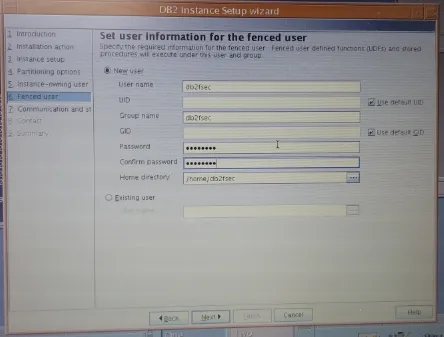
In Fenced User, select “New User” and fill in the form as needed and click “Next”
-
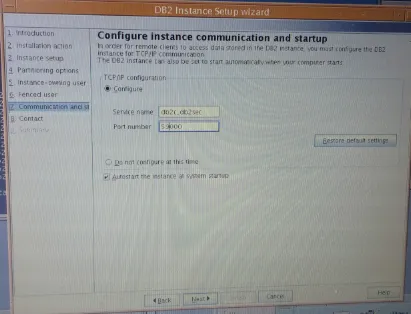
In Communication and Startup, select “Configure” and fill in the form as needed and click “Next”
-
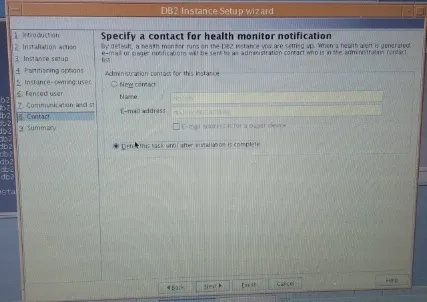
In Contact, select “Defer this task until after installations is complete”, and click “Next”
-
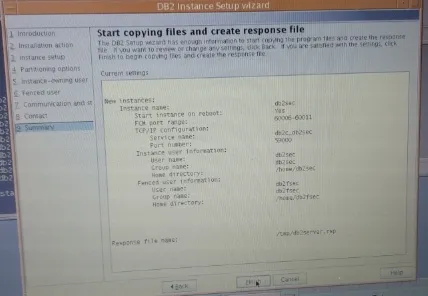
In Summary, click “Finish” and wait for the installation process to complete
-
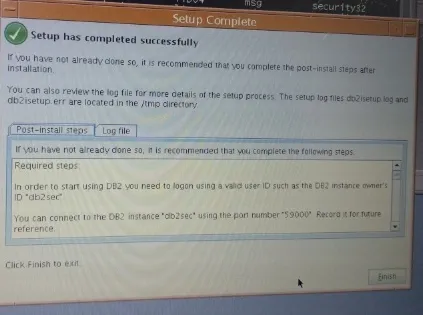
If the process is complete, make sure the status is “Success” and click “Finish”
Creating Volume Group
-
Run the command
smitty mkvg -
In Add an Original Volume Group, fill in the form as needed and click “OK”
-
In VOLUME GROUP name, fill in the form as needed and click “OK”
In Physical partition SIZE in megabytes, fill in the form as needed and click “OK”
In PHYSICAL VOLUME names, fill in the form as needed and click “OK”
In Force the creation of a volume group, fill in the form as needed and click “OK”
Creating Logical Volume
-
Run the command
smitty mklv -
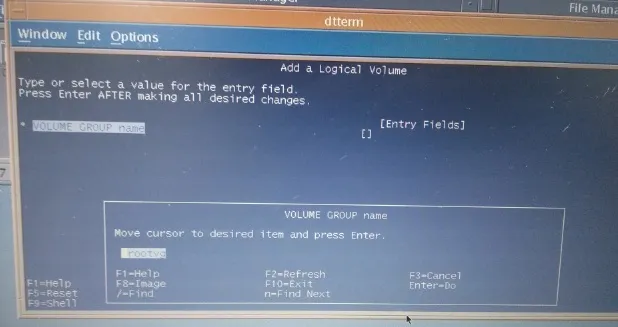
Press F4 to select “Volume Group name” as needed, and press Enter
-
Fill in the form as needed and click “OK”
-
Fill in “Logical Volume name” as needed
Fill in “Number of LOGICAL PARTITIONS” with “100” (fill in according to total hardisk)
Fill in “PHYSICAL VOLUME names” according to the available hdisk & that will be partitioned
Fill in “Logical volume TYPE” with “jfs2”Then press Enter
Creating Mount Point
-
Run the command
smitty jfs2 -
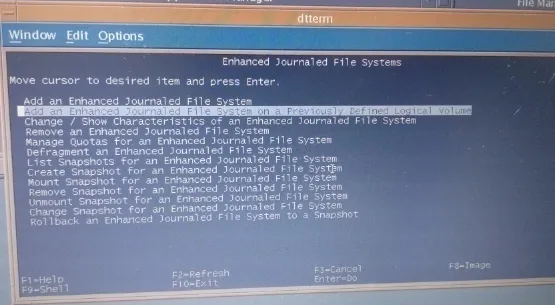
Select “Add an Enhanced Journaled File System on a Previously Defined Logical Volume” and press Enter
-
Select “Logical Volume name” as needed, and press Enter
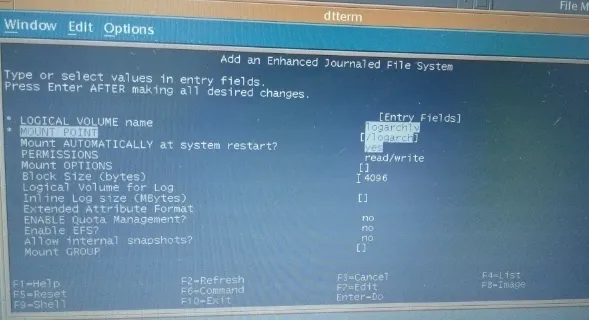
Fill in “MOUNT POINT” as needed
Change “Mount AUTOMATICALLY at system restart?” to “Yes” and press Enter
-
To display the mount that was created, run the command
mount (mount point name)Example :
mount /audit -
Check if the mount that was created can appear by running the command
df -g -
Run the command
chmod –R 777 (mount point name)Example :
chmod –R 777 /audit
Configuring Database Manager
-
Open putty using Server IP Address, and login according to the login user and login password that can be accessed
-
Check database manager configuration using the command
db2 get dbm cfg -
Change the value of the following parameters:
- Change “FEDERATED” from “No” to “Yes”
- Change “DFT_MON_BUFPOOL” from “Off” to “On”
- Change “DFT_MON_LOCK” from “Off” to “On”
- Change “DFT_MON_SORT” from “Off” to “On”
- Change “DFT_MON_STMT” from “Off” to “On”
- Change “DFT_MON_TABLE” from “Off” to “On”
- Change “DFT_MON_UOW” from “Off” to “On”
- Change “AUDIT_BUF_SZ” from “1024”
Run the following commands:
Terminal window db2 update dbm cfg using FEDERATED YESdb2 update dbm cfg using DFT_MON_BUFPOOL ONdb2 update dbm cfg using DFT_MON_LOCK ONdb2 update dbm cfg using DFT_MON_SORT ONdb2 update dbm cfg using DFT_MON_STMT ONdb2 update dbm cfg using DFT_MON_TABLE ONdb2 update dbm cfg using DFT_MON_UOW ONdb2 update dbm cfg using AUDIT_BUF_SZ 1024db2 update dbm cfg using DIAGSIZE 200db2 update dbm cfg using SYSCTRL_GROUP DB2CTRLdb2 update dbm cfg using SYSMAINT_GROUP DB2MAINTdb2 update dbm cfg using SYSMON_GROUP DB2MONdb2 update dbm cfg using SRVCON_AUTH SERVERdb2 update dbm cfg using DFTDBPATH /datadb2 update dbm cfg using SVCENAME db2c_db2fe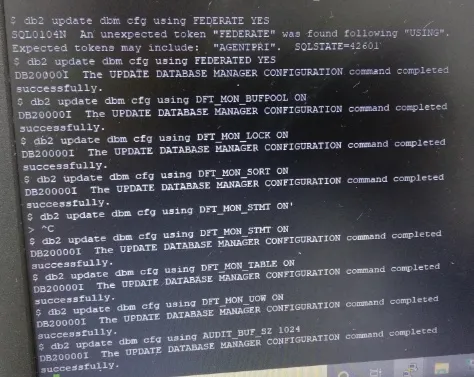
-
Run the command
db2stopthen run the commanddb2start
License Setting
-
To see the DB2 license, run the command
db2licm –l -
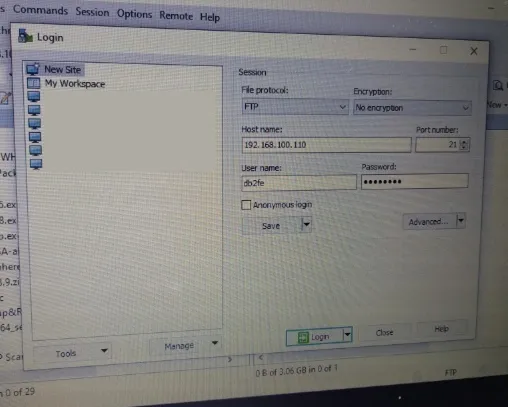
Open WinSCP and login using the Server IP Address, user, and password that can be accessed
-
Copy the “db2aese_u.lic” file to the
/home/db2fe/sqllib/adm/db2aese_u.licfolder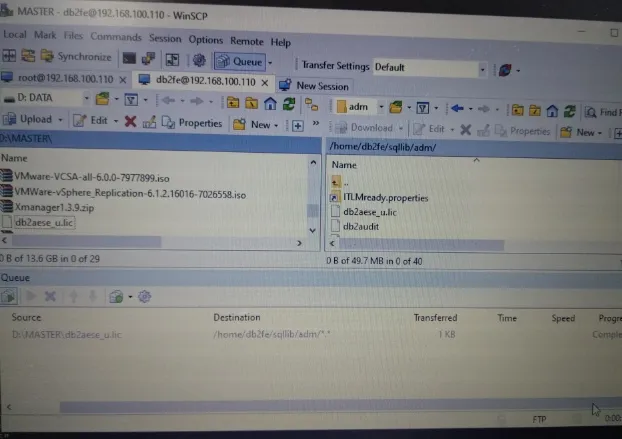
-
Open putty, go to the directory where the db2aese_u.lic file is stored
Example: run the command
cd /home/db2fe/sqllib/adm -
Run the command
Terminal window db2licm -a /home/db2fe/sqllib/adm/db2aese_u.licWith this, the DB2 license expiry date which was previously still “trial” becomes “permanent”
-
Check the DB2 license again, run the command
db2licm –l -
Login to putty using the Host Name / IP Address and login using the root user
Creating History Log
-
To create a history log, run the following command:
Terminal window cd /usrmkdirhistlogchmod –R 777 histlogvi /etc/profile -
Add the following code at the bottom (after trap 1 2 3)
Terminal window HISTSIZE=10000HISTFILE=/usr/histlog/${LOGNAME}_$(date +%Y%m%d%H%M%S).$$export HISTSIZE HISTFILE